

LATEST RECIPES

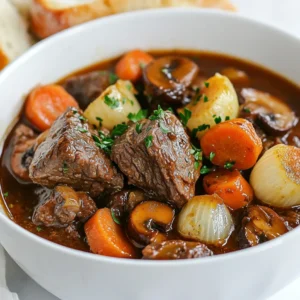
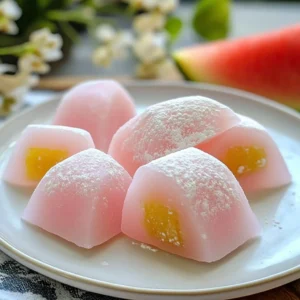

LET'S GET COOKING!
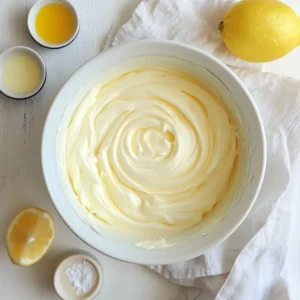
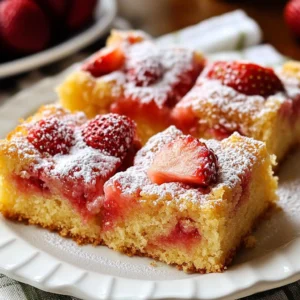
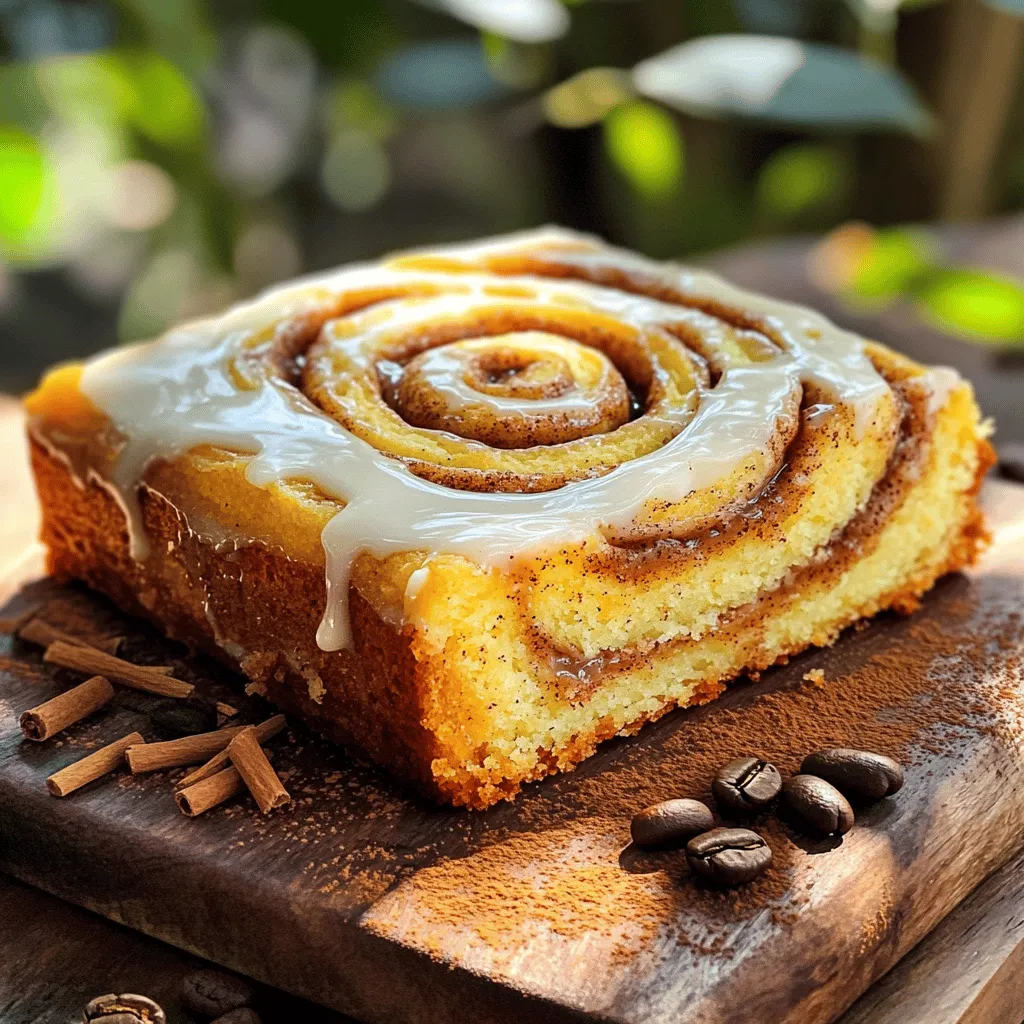
Bakery-Style Cinnamon Roll Coffee Cake Delight
Imagine warm, soft cake swirled with sweet cinnamon and topped with a creamy glaze. My Bakery-Style Cinnamon Roll Coffee Cake brings the joy of your...
Read Full Recipe →